
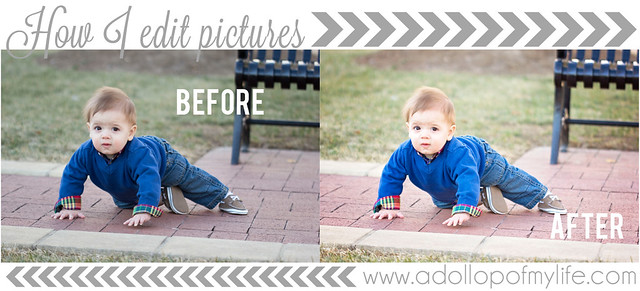
I've had a few inquiries about how I edit pictures and what camera settings I use. I'm flattered that people even ask me; I am no pro, and have taught myself what little I do know just by reading tutorials online, and mainly trial and error. So I kind of don't feel like I have what it takes and nor am I really qualified to answer questions like this. BUT... If there is anything I could stress to people who want to know about using a DSLR is to just practice and practice and practice some more. Photography is an art, and there are different ways to achieve certain images, but no one gets better by just reading and being told something; the work comes in snapping the shutter over and over and over again. So... with that being said, this is what I do with most of the images you see here on this blog.
My equipment: I shoot with a Canon 60D. I own two lenses; a Canon 24-70L f2.8 and a Canon 100mm f2.8 macro. About 98% of the images you see in my blog posts are shot with the 24-70. I will say that this lens (and camera) are SHARP as a tack, however lately I've noticed my images are kind of soft. I'm fairly certain my focusing is off in my camera, and my equipment needs to be calibrated. I also own a Canon 430ex mountable flash, but I rarely use it anymore, as I prefer natural light photography.
The 3 players of settings (and please, someone correct me if I am wrong... I am not a professional and sometimes I get confused on this stuff, just like the other average joes out there):
ISO: This originally had to do with the speed of your film back in film photography. With digital photography, my best explanation is that your ISO determines how sensitive your camera is to light. In a low light setting? You'll want a high ISO. Conversely, if you're outside, chances are you will chose a low ISO. Be mindful of your camera and how it handles ISO though; as a rule of thumb I try not to go over ISO 1000, as an increase in ISO generally means that there is more noise in your images (meaning your images will probably look kind of grainy). If you want to read more about ISO, you can read a great in depth explanation HERE.
Aperture: Your aperture settings affect how much light the lens lets in to a picture. You'll hear terms like wide aperture or narrow aperture; a wide aperture actually means a low number (ie f2.8 is the widest aperture on my lenses that I own) and a narrow aperture means a high number (ie f22, etc). The wider the aperture, the less of the picture is going to be in focus. Sometimes people ask how the background of an image got blurry, and it's most likely because the aperture was set wide when the camera took the picture). As a general rule of thumb, for pictures of people, you will want to make sure your aperture is set 1.5-2 steps greater than the number of people in the image (ie: for pictures of my 3 boys, I try to take them with an aperture no wider than f4).
Shutter Speed: this is pretty straight forward. The speed as which the shutter stays open. This affects light, but it also affects movement. For action shots, you will want a very fast shutter speed (so a high number). I try to not go below a shutter speed of 100 with my boys. They move too much and I get the motion blur if I shoot slower than that. For my food pictures, I try not to shoot lower than a shutter speed of 80. If you want to read more about shutter speed, you can read a great in depth explanation HERE.
How I Shoot:
I shoot manually for all of my images (meaning I set my aperture, my shutter speed and my ISO). This took time, so as I was learning I switched between the Av mode (meaning you will set your aperture and your camera will set all of the other settings) and Tv mode (meaning that you will set your shutter speed and your camera will set all of the other settings). Once I got comfortable with both of those modes, I went completely manual and haven't looked back. I also shoot all my images in RAW. I know this is heavily debated in the photography community. I just like the editing flexibility I get by having the RAW image.
So once I am ready to shoot, I select my auto focus point. For almost all of my pictures, I select one single focus point (sometimes when I'm shooting a group I will let the camera pick the focus point(s) out for me). I always try to make sure I pick out a focus point that is on the subject's eyes. Because I don't have a way to get a screen shot of the auto focus points on my camera, I'll direct you HERE to a good tutorial on how to select your focus point).
And snap. That's how I take pictures.
So... now that we have all of the tiny details out of the way, here's how I edit....
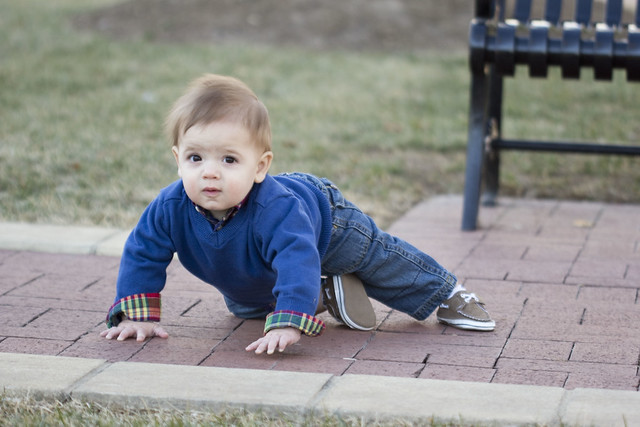
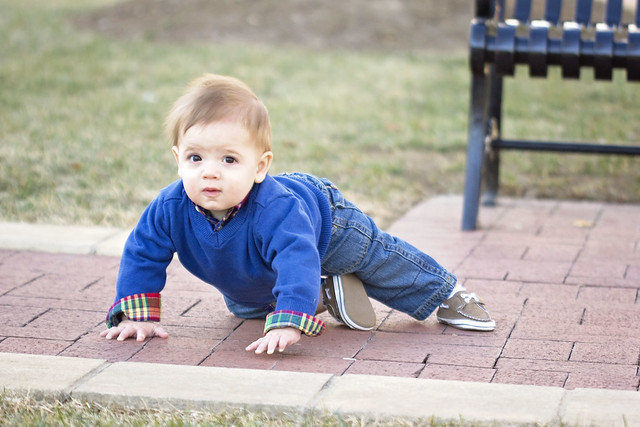
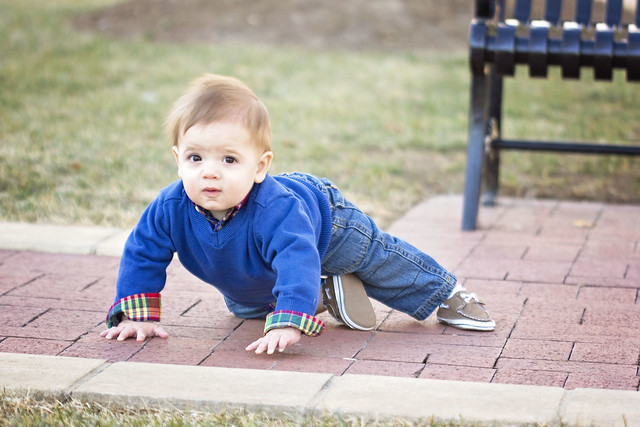
This was a recent image I took of Tyler, SOOC (straight out of camera). The settings on it were:
shutter speed: 1/250, aperture: 2.8, ISO: 250
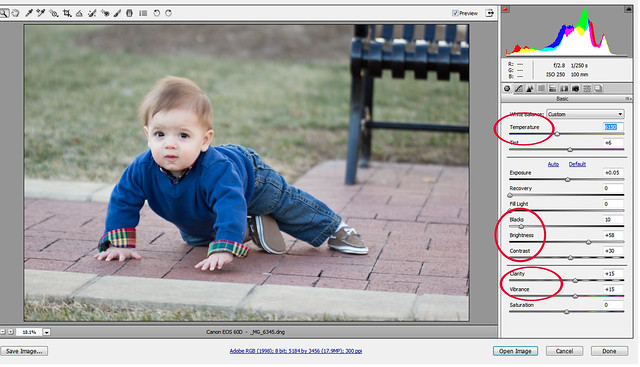
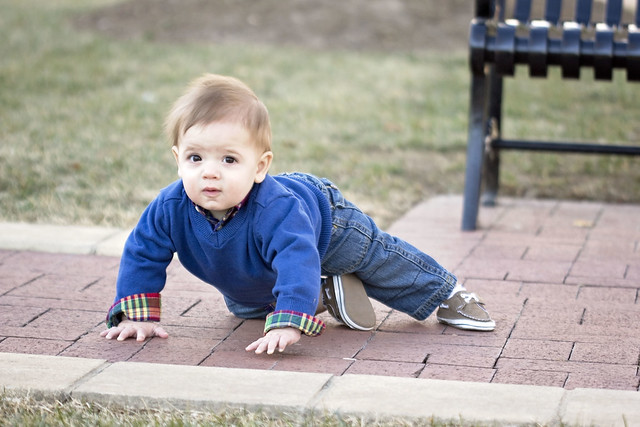
The first thing I do when I open my images up in photoshop is to adjust my white balance (temperture). Once I'm satisfied with that, I move on to blacks (usually bump up to no more than 10), contrast (generally always set between 30-35), brightness if needed (this image did not need a brightness or exposure adjustment), then end with a slight bump in clarity and vibrance (I generally do no adjust saturation, as it will affect skin tone too much). Once I'm satisfied with the edit in Camera RAW (the RAW image processor in Photoshop), I either save the image (if I'm trying to do a quick edit, this is where I stop.) or open the image in Photoshop for more editing. To be honest, probably about 70% of the images that I put on the blog end here. I just don't have enough time in the day to edit much more than that. But.... I sometimes go a little further using actions.
For this image, I decided to use a few actions on the picture. Most of the images on my blog are edited with actions from: The Pioneer Woman (PW has my FAVORITE black and white action- nearly all of my black and white images are color images processed with her PW black and white action) or The Coffee Shop Blog. I was also recently able to download a Sampler pack of actions from Greater Than Gatsby, and so far I have been really impressed with them. For this tutorial I use the Gatsby action set. If you need help in learning how to load/use photoshop actions, The Coffee Shop Blog has a great tutorial HERE.
So now that I open my picture, I run the first action. This is the result:
Nice, but I still want the color boosted a little more, so I run the clean color action.
lovely. Now I want to run one more...
so I ran the clean drama action. This is perfect, but it's a little much (especially on his face at first). so I adjust the opacity of the layer, and then I also brush up the layer mask.
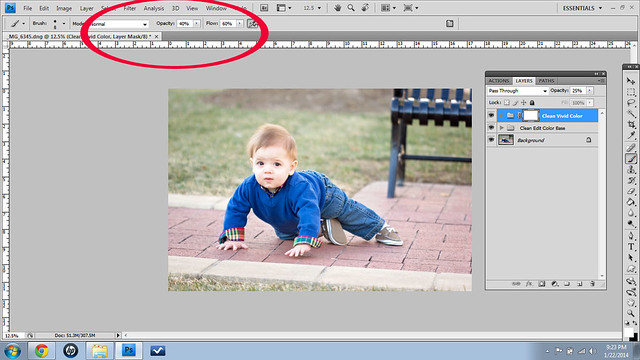
(this picture was actually taken on the previous action, but work with me here).... so with a layer mask selected, I'll select the paint brush tool. When I work with my layer masks I like to make the opacity around 40% and the flow around 60%. I brushed up around Tyler's face till I was happy with how his skin looked. I just want to make sure that the skin doesn't look too over edited and funky.
The actions add a layer called "clean lighten". I tend to adjust this to my taste, then I flatten the image (on a PC, click ctrl+E to quickly flatten your image). This is the result of all of that:

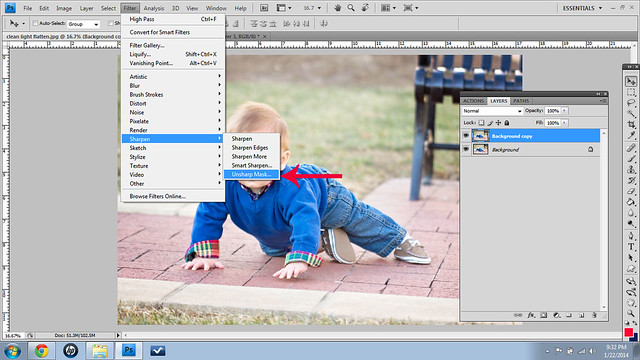
The last thing I do is work on the eyes. I have read numerous tutorials on how to edit eyes. There are actions to edit eyes. But this right here has been the easiest way for me to do it. So first thing's first... I duplicate the background image so that you have two layers, like so:

With the copied layer selected, go to Filter>Sharpen>Unsharp Mask
When you select unsharp mask, a pop up window will show up. These are your settings, and this is typically what I set it at for my eyes layer:
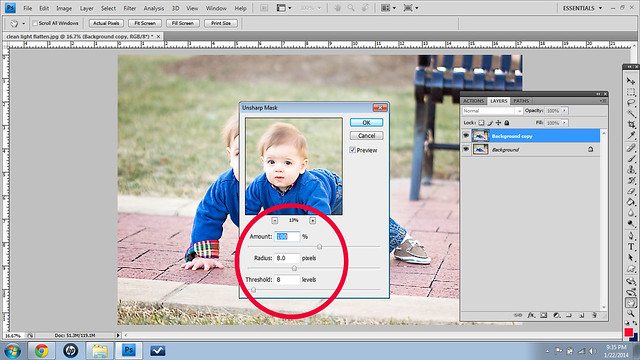
This will sharpen that entire layer, making the image look kind of cray cray. We don't want cray cray, so we need to add a layer mask to this layer.
Like so...
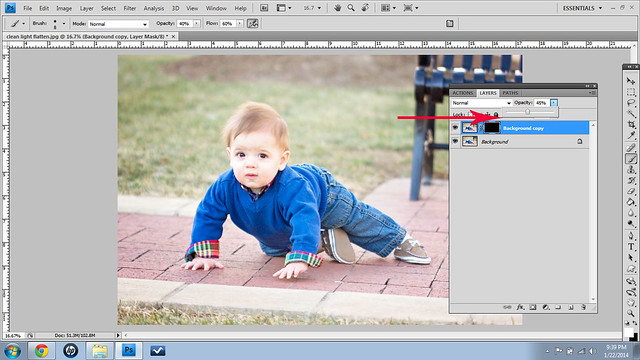
I always select "hide all" on the layer mask, then I go back and, using the paint brush tool, will paint white on the layer mask over the areas that I want exposed for the sharpening (generally you just will do the iris & pupil, and then sometimes I will make the paint brush VERY small and drag it across the line of the eye lashes so that it will emphasize the area around his eye more). I wish there was a way to screen print this more, but there's really not, so you'll have to work with me here.
Typically once the eyes are done, the layer still will need to be adjusted down in opacity. Depending on the image, I leave the opacity anywhere from 45-60%.
Once you've done all of that, you'll want to flatten the image again, and then save it! And you have your final product!

Obviously this is quite time consuming, so I don't edit EVERY single picture on my blog with such detail. But the monthly posts, and the ones that are specific to one of my boys, I try to edit those especially well. Again, I'm not a professional, and I probably don't do it all the right way, but this is the way that has worked for me over the past 5 years that I've been blogging.
If you have any pointers, I'd love to hear them (as would my readers, I'm sure!), so be sure to leave a comment below.
(This post is linked up on Milk & Cuddles...Lamberts Lately... Inspire Me Please on House of Rose)


