
Here's the deal. When I looked on pinterest and the internet, there were a tons of pictures of these antique window turned picture frames. But no tutorials or help on actually how to convert it. And not that I'm saying that what I did should be the gold standard, but in an attempt to at least help other sisters (or brothers) out, I thought I'd outline what I did.
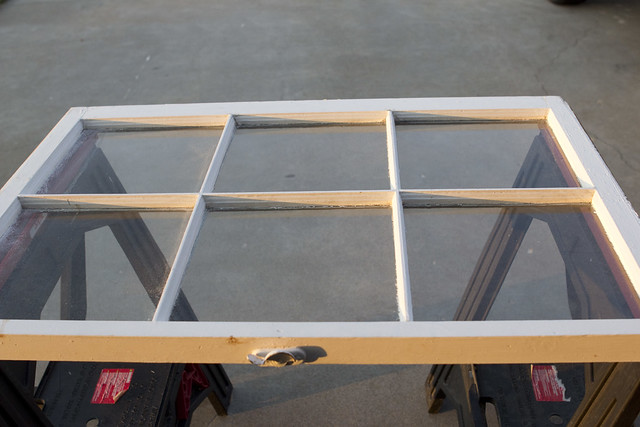
It started out like this. We actually purchased this window from a litle shop that upcycles a lot of antique items (ie doors, windows, etc) and resells them. This is the same shop that we purchased our antique window turned mirror, which hangs in our entryway.
I had been looking for a window that had symmetrical panes (I'm weird like that), and this was the first one we found. Drew got it for me as a surprise! Hindsight, we probably paid a little too much for it, as I've seen a lot of windows that are similar (albeit without the large 12x12 panes this one has) at area flea markets for significantly less. But this one is still my favorite out of everything I've seen, so I try not to focus so much on how much we paid :)
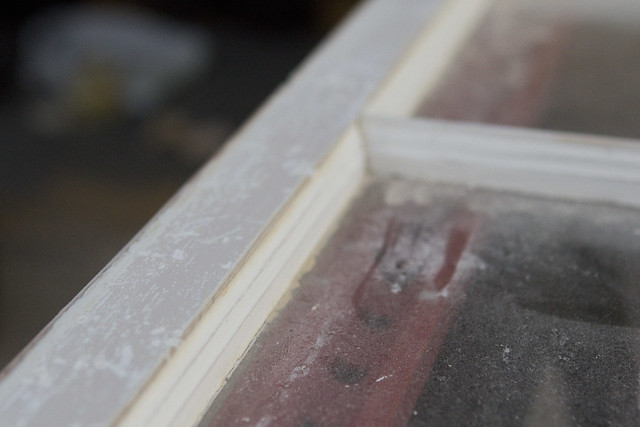
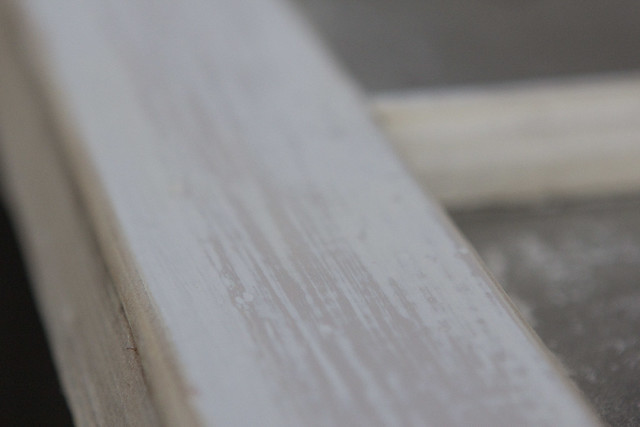
I originally thought I would sand it down and then stain the exposed wood. The problem I ran into is that I kept sanding. And sanding. And sanding. Underneath the 10 layers of white paint was a thick layer of manilla colored paint. That would NOT sand off. I'm not really sure what it is... even paint thinner didn't work. So I settled with how it sanded. I actually really like it, and think it compliments everything else in the living room. Since not much of the actual wood was exposed (only the edges), I decided to just leave it alone and not stain it either.
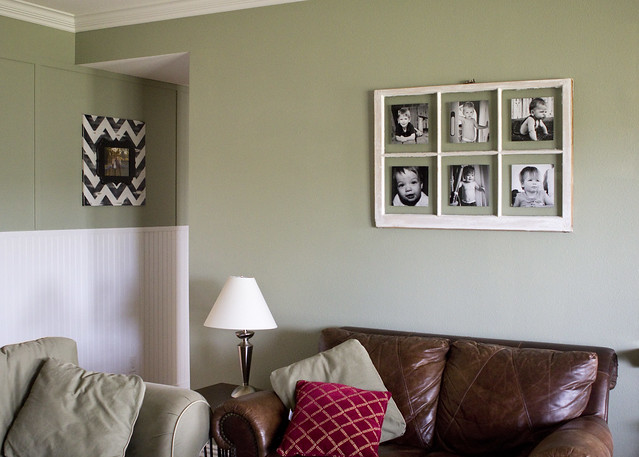
For my pictures, Drew and I picked out our 3 favorite pictures ever taken of both boys. This was a daunting task, but I was surprised with how quickly we were able to decide. We ended up picking an infant picture, a 15 month picture, and then a current picture for each boy. I had the pictures developed at mpix.com. I always recommend mpix to all of my clients/friends if they are wanting to have nice prints made. They are very reasonably priced, and their quality is SO much better than any drugstore or supermarket that you could get your pics printed at locally.
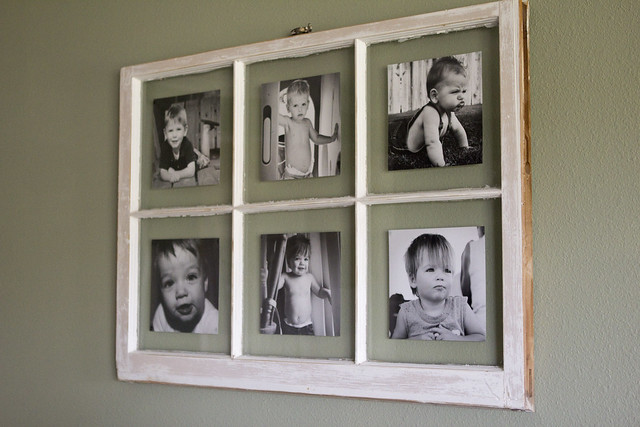
(the top right picture of Brayden is one of our all time favorite pictures EVER, and is also my proudest as a photographer. It's currently published as a greeting card by DaySpring. You can find it at most Christian bookstores and Hobby Lobby in the "praying for you" section). I wrote about the story behind how it got published HERE.
I'm sure you're wondering how I attached my pictures. I would only know this because that was my biggest dilemma and the question least answered when I searched google for answers.
Initially I thought some sort of craft sticky adhesive would work. So I tried this:
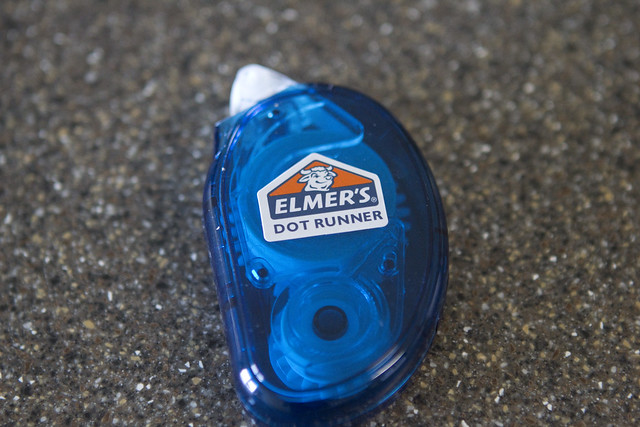
It worked. But only for about 30 minutes. After 30 minutes my pictures fell off, one by one. So I went back to Walmart for a better option. In the craft section I found these:
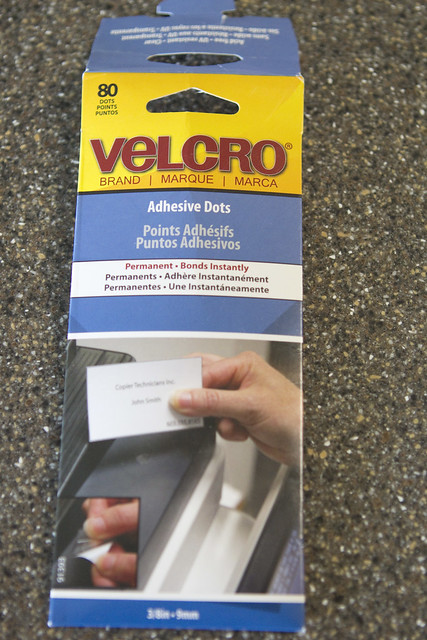
I was a bit apprehensive, since they aren't really made for photographs. But after the dot runner didn't work, I was kind of out of options again, unless I wanted to use regular tape, which I was pretty sure wouldn't look that great. Thankfully these worked like a charm.

I was worried that you would be able to tell how the pics are attached to the panes, but unless you are 1 inch away from the frame, you can't tell at all. Also, these say that they are permanent, but I had to reposition one of the pics and was able to get it off fairly easily. Not sure that will be the case once they are on there for a while, but I plan on redoing the pics every couple of years, so it doesn't bother me that much if one of them gets crimpled while I'm taking it off (also, is crimpled a word?)
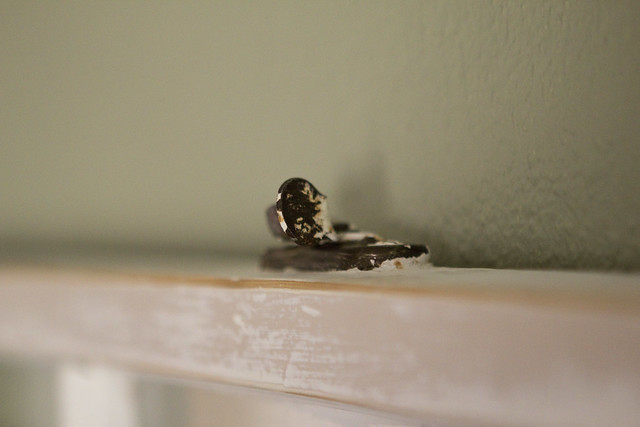
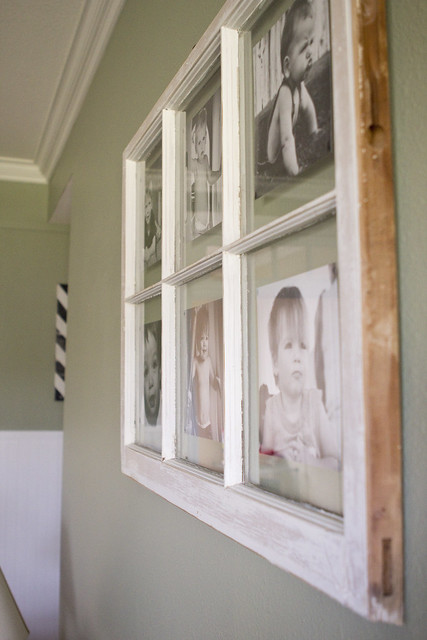
I feel like the original hardware on the window is the perfect finishing touch.

it's my favorite part of the window/frame (aside from the pictures of the cute kids).
I think the hardest part of this entire project was trying to figure out how to hang it. I went to Hobby Lobby and asked one of their framers what she would recommend. She sent me home with these:
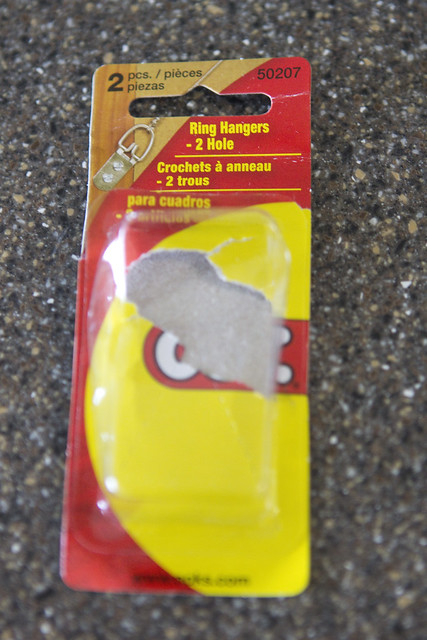
(I forgot to take a picture of these before Drew put them on my window-- oops!)
Drew had to be really creative because I am so difficult to work with and decided I didn't want hanging hardware or wire to show through the panes. He's a sport. Thanks for putting up with my difficult personality, babe!
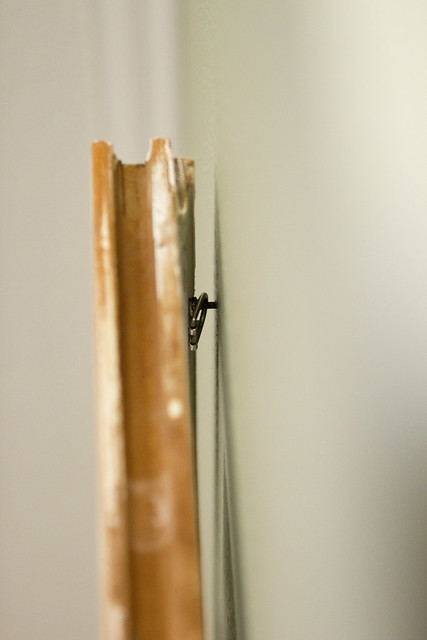
He decided to put these bad boys on upside down, which meant he had to widdle a little of the wood away. This window is HEAVY, so he had to put screws in two separate studs-- thankfully the way the window measured it worked out perfectly (our studs are 16" apart). This is how it looks on the back on each side:
Now I can sit back and relax, knowing that another project is complete. Now if only yall could help me figure out what to put to the left of it on the wall... that spot looks kind of bare? Ideas anyone?
ETA:
I'm linking this post up with these blog parties!

