Bokeh can be a fun effect on a photograph. It sort of jazzes it up. It looks like balls of light or little glimmers in the photo. I like to use this effect around the holidays.
First open Photoshop.
I am going to open the first picture. This is going to be your bottom layer, or the picture you want to apply the bokeh too.
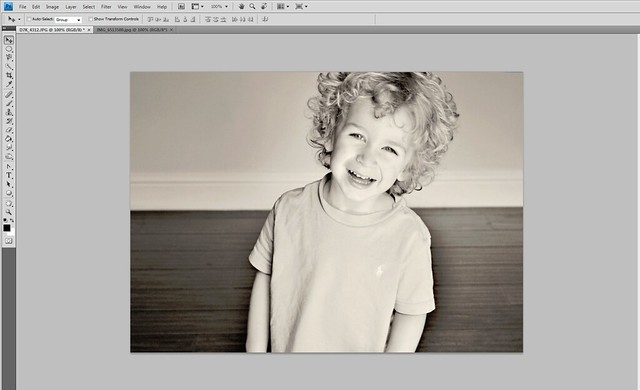
I just took these photos of Connor….so this was what I had on my desktop!
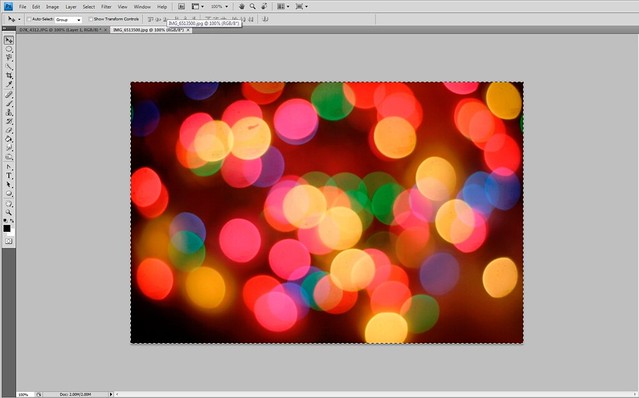
Then I’m going to open my “bokeh” photo. If you don’t have one just Google “bokeh photos”.
Now I have both photos open in Photoshop. You want to make sure both photos are the same size. You can play with the size and position of the bokeh later on.
Okay, now that you have both photos open you’ll want to copy the bokeh photo over your original photo. I just hit Control+C the photo and Control+V to copy and paste the photo over.
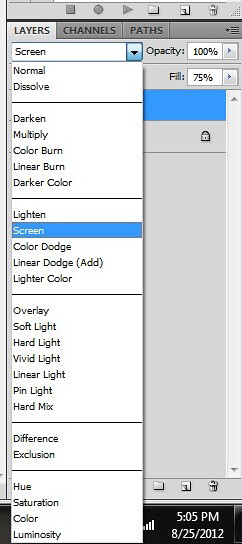
Go to the Layers tab and scroll down to SCREEN.
Then you’ll want to adjust the opacity and fill a little bit, you can see that to the bottom right of the photo below:
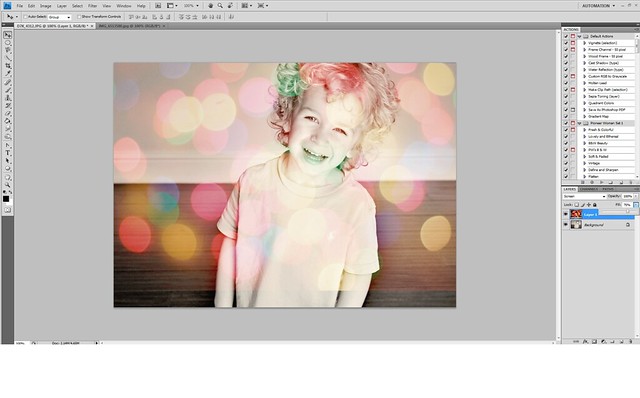
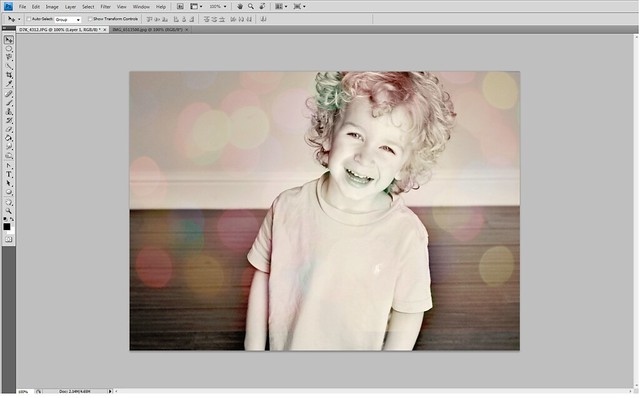
Then just adjust it until you get it how you want and “bling bling” there you have it!
A bokeh photo bedazzled!