
1. Open up your Blogger Dashboard. Click on the little drop down menu that the red arrow is pointing to:
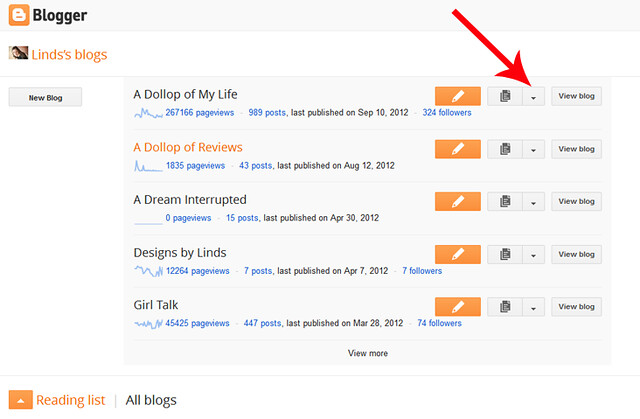
It will open up this drop down menu:
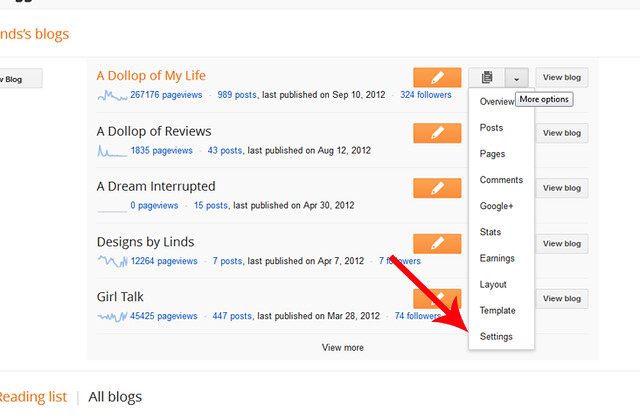 2.Click on SETTINGS.
This will bring you to your settings basic menu, which looks like this:
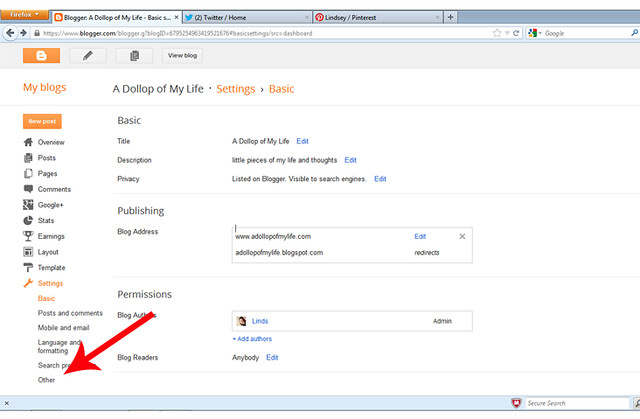
3. Click on OTHER in the settings menu (down in the bottom left corner of your screen) This is what the screen should look like:
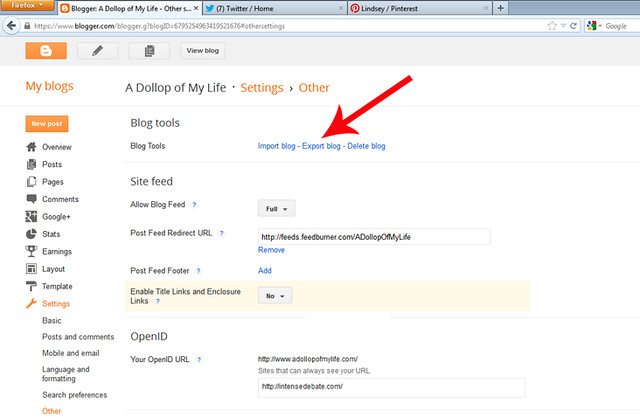
4. Click on EXPORT BLOG
It should pop up this window when you click on export
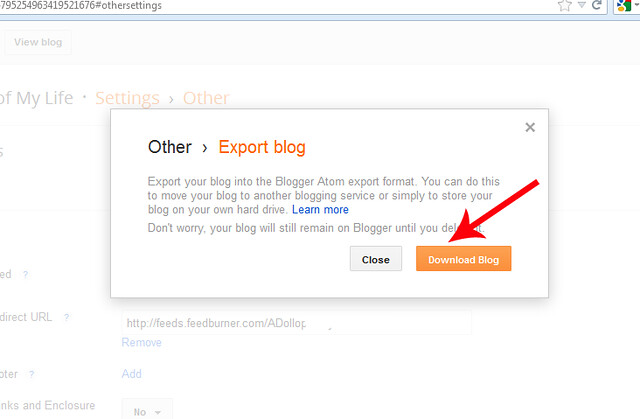
5. Click DOWNLOAD BLOG
It will bring you to this pop up save file window:
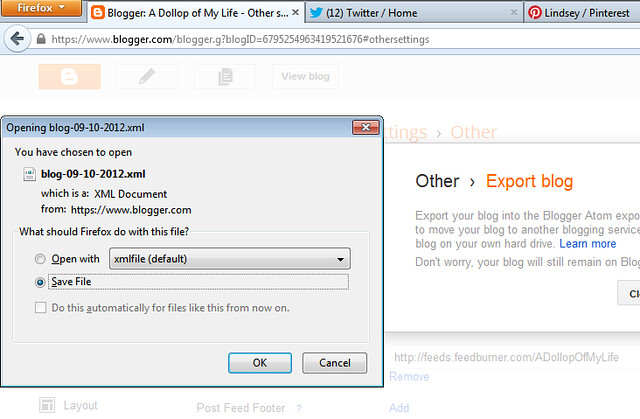
6. Click save file.
I usually rename my file once it's saved, generally including the date and my blog's title (ie: ADollopofMyLife_09-10-12.xml) An xml file is simply a code file that backs up all of your blog's information to that date. Don't freak if you try to open it on your computer and it just looks like a bunch of jibberish.,. it's supposed to look that way :) This file can be used to IMPORT a blog (as seen on step 3 above) back into Blogger, or to be used if you are converting your blog to a different platform. Let me know if you have any questions!


